


BFI are an approachable, client focused digital agency with decades of combined digital expertise. Our friendly team of web professionals work with you and specialise in bespoke web development, third party integrations, UX (user experience), creative and branding, web development, app development, and digital marketing.
Whilst we are based in Cumbria, we have supplied our web services to businesses and organisations all over the UK.
We would love to work with you too! So get in touch today to discuss your next project.
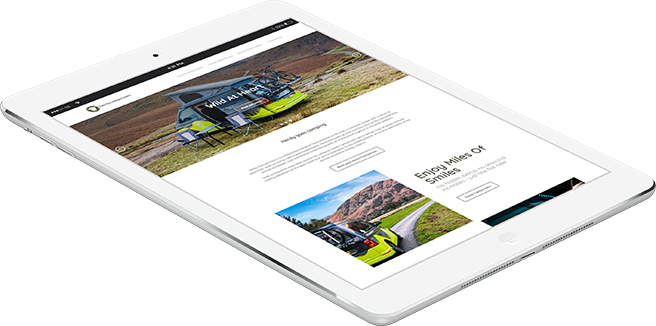
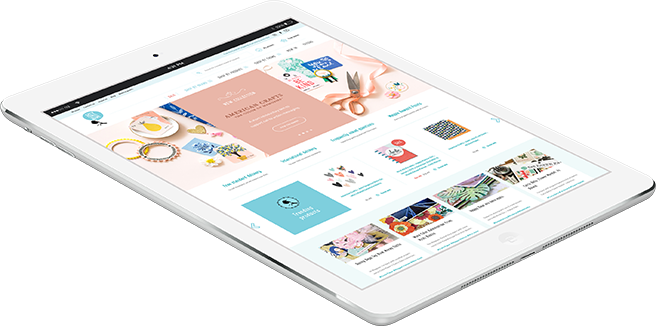
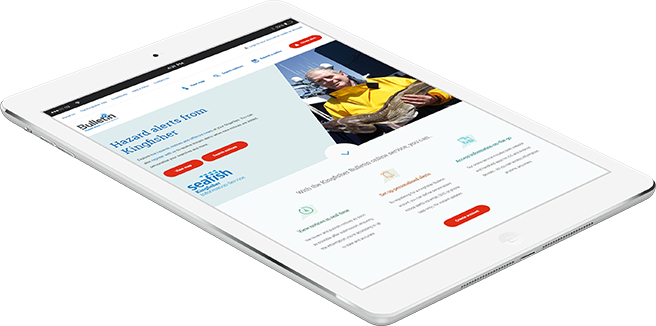
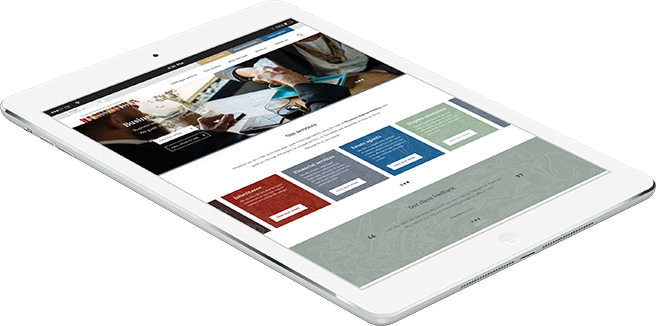
Case Studies

BFI are now our partner for Internet development and we are delighted that we have developed such a key partnership, especially in an industry where it is often difficult to get clarity and a quality result first time.
We were very impressed with the design, it reflects our brand well and engages our target market customers with the right kind of imagery and messaging... We’ve received lots of compliments about the look and functionality of the website... We would wholeheartedly recommend Big Fish!
BFI have been an amazing company to work with, not only have they helped us to redesign our current platforms, but have been the driving force for our APPI TV platform and of course our APPI Virtual Conference platform. Their professionalism and ability to adapt and tailor make our wish lists into reality have been amazing. We have seen brilliant feedback from our customers from the changes that BFI have been able to implement across our websites. It has been astounding to have a company with their expertise and knowledge to support us in everything technical!
 Responsive Design
 Identity & Logo Design
 Organic SEO


